Cart
0
Starter heat soak happens when residual engine heat, mostly radiant heat off the exhaust manifold, raises the starter’s internal temperature enough to spike electrical resistance in the windings and solenoid. The result: a hot engine that cranks slowly or not at all, right after driving. Before you buy anything, run a voltage-drop test and a cold-versus-hot current-draw test. If those numbers land outside spec, the starter is likely damaged internally and needs replacement rather than a shield.
TL;DR:
- Shielding with non-conductive basalt or volcanic fiber materials can significantly reduce radiant heat from exhaust components, preventing heat soak.
- Upgrading to heavier-gauge, heat-rated cables and ensuring proper grounding can mitigate resistance issues caused by thermal expansion in wiring.
- Conducting voltage-drop and current-draw tests before replacing the starter helps distinguish external wiring issues from internal component failures.
- Persistent hot no-start symptoms after shielding and wiring fixes indicate internal starter damage, often requiring remanufactured units tested to OEM standards.
- Installing OEM-quality heat shields and maintaining a clean engine bay are crucial preventive measures against heat-induced starter degradation.
Table of Contents
- What Starter Heat Soak Symptoms Look Like
- Why Engine Heat Degrades Starter Performance
- How to Diagnose Starter Heat Soak Step by Step
- Fixing and Preventing Starter Heat Soak
- When Shielding Won’t Fix It: Signs You Need a Replacement
- What a Trustworthy Remanufactured Starter Actually Looks Like
- What I’d Actually Check Before Replacing a Starter
- Get the Right Remanufactured Starter for Your Vehicle
- Sources
- FAQ
What Starter Heat Soak Symptoms Look Like
The signature symptom is simple: the engine starts fine cold, but drags, clicks, or does nothing after it’s been running and sits for a few minutes. That timing detail is the whole diagnosis in miniature. A weak battery usually struggles at all temperatures. Heat soak almost always shows up only after the engine has built up heat, whether from a long highway run or sitting in traffic with the hood trapping warmth around the exhaust.
Watch for these patterns:
- Cold starts crank strong and immediate; hot starts drag, hesitate, or need multiple attempts.
- A single loud click with no crank, which usually points to the solenoid rather than the motor windings.
- A slow, labored crank (sometimes called a “wounded animal” sound) that speeds up once the starter cools for 20 to 30 minutes.
- Symptoms that appear or worsen right after installing headers, a turbo kit, or an exhaust upgrade.
- Dash lights and accessories working normally, which rules out a dead battery as the sole cause.
Before assuming heat soak, do two quick checks that take less than five minutes. First, look at the battery terminals and ground straps for corrosion or looseness. A crusty terminal mimics heat-soak symptoms because it also raises resistance under load. Second, wiggle-test the main positive cable at the starter lug. Loose or corroded connections show up as the same “cranks cold, dies hot” pattern because resistance in a bad connection gets worse as everything around it expands with heat.
If both of those check out clean and the symptom pattern still tracks with engine temperature, you’re likely looking at genuine heat soak affecting the starter, not a battery or charging problem. For a broader rundown of failure signs beyond heat, this guide on common starter failure signs is worth a look.
Why Engine Heat Degrades Starter Performance
Two kinds of heat attack the starter: radiant heat thrown off the exhaust manifold, header, or turbo housing, and conductive heat transferred through the engine block and starter mounting bolts. Neither one is subtle. A manifold can sit well above 1,000°F under load, and the starter often mounts within a few inches of it with nothing but a thin stamped-metal shield in between, if that shield is even still there.
Copper windings and solenoid contacts don’t like heat. As temperature climbs, electrical resistance in the copper windings rises right along with it. Higher resistance means less current reaches the motor for the same voltage, so the starter spins slower and pulls harder to do the same job. Push that far enough and you get the internal failure modes that actually kill starters for good: insulation breakdown on the windings (which can eventually short winding to winding or winding to case), bushing and bearing wear that gets worse under thermal expansion, and solenoid contacts that pit, arc, or physically stick, sometimes called solenoid lock.
Solenoid lock is the scarier of the two because it doesn’t always announce itself with a slow crank. Sometimes it just clicks once and nothing happens, because the contacts inside the solenoid have welded or pitted enough that they can’t complete the circuit cleanly under load. That’s a mechanical failure, not a resistance problem, and no shield fixes it.
High-displacement engines and anything with tight, restricted underhood packaging make all of this worse. A big V8 or a turbocharged four-cylinder crammed into an engine bay designed for a smaller motor both create the same problem: more heat generated, less airflow to carry it away, and a starter sitting closer to the source than the engineers probably intended once the aftermarket exhaust or turbo kit went in. Field-tested troubleshooting data shows this thermal buildup happening fast, often within minutes of shutdown, which is exactly why hot-start failures cluster right after a drive rather than after the car has cooled overnight.
How to Diagnose Starter Heat Soak Step by Step
Skip the guesswork and run the tests in this order. Each one isolates a different part of the circuit, so you stop at whichever step points to the actual problem instead of throwing parts at it.
- Prep and safety check. Park on level ground, set the parking brake, and keep hands and tools clear of the fan and belts. Make sure the battery terminals are clean and tight before testing anything downstream.
- Battery load test. Load the battery at 50% of its cold-cranking amp rating for 15 seconds. Voltage should stay above 9.6 volts. Anything lower and the battery, not the starter, is your problem.
- Voltage-drop test on the cranking circuit. With the engine cranking (disable the fuel or ignition system so it doesn’t start), check drop across the battery positive to the starter B+ stud, the ground path, and the battery negative to engine block connection.
- Cold current-draw test. Clamp an inductive DC ammeter rated for at least 400 amps on the main starter cable and record draw on a cold start.
- Hot current-draw test. Drive the vehicle until it’s fully warmed up, let it idle or sit briefly to replicate real-world heat soak, then repeat the current-draw measurement immediately.
- Infrared temperature check. Point an infrared pyrometer at the starter housing and the nearby manifold section to confirm how much heat is actually radiating onto the starter.
The acceptable thresholds matter more than the raw readings. On the voltage-drop test, the battery-positive-to-starter leg should read no more than 0.3 volts, the ground leg no more than 0.1 volts, and the battery-negative-to-block connection no more than 0.05 volts. Anything above those numbers points to a cable, connection, or ground problem, not the starter itself, and that’s worth knowing before you spend money on a new starter that won’t fix a bad ground strap.
Pro Tip: Run the hot current-draw test within two to three minutes of shutting the engine off. Heat soak peaks fast, and waiting even five extra minutes for the ambient temperature to drop can hide the exact symptom you’re trying to catch.
Current draw tells the rest of the story. If cold draw comes in normal but hot draw jumps by 100 to 200 amps or more, that delta is the fingerprint of thermal degradation inside the starter, not something a cable fix or a shield will resolve. A modest, consistent draw increase alongside failed voltage-drop numbers usually means the fix is in the wiring, not the starter. Most heat-related no-crank complaints actually trace back to degraded cabling or a weak ground path rather than the starter itself, which is exactly why this test order matters. Test the circuit before you condemn the part. A quick pre-check list like this one on warning signs your starter is failing can help you decide whether it’s worth running the full sequence at all.
Fixing and Preventing Starter Heat Soak
Start with the least invasive fix and work up. Most heat-soak cases respond well to shielding and wiring cleanup long before a replacement starter enters the conversation.
Heat shields come first, and material matters. Shields built from volcanic rock fiber or basalt block radiant heat far better than a simple foil wrap, and some are rated to handle up to 1,200°F continuously and 2,000°F intermittently. Install tips that actually make a difference over the long run:
- Position the shield’s seam facing away from the direct heat source, since seams are the first point of failure under sustained radiant exposure.
- Use hook-and-loop fasteners as documented in installation guidance rather than metal clips that can conduct heat back toward the wrap.
- Choose non-conductive shield material to avoid creating a short-circuit path near the starter’s live terminals.
- Check shield fit against the starter body so it wraps close without pinching cables or blocking the solenoid plunger.
Wiring upgrades matter almost as much as the shield itself. A degraded or undersized B+ cable adds resistance that gets worse as it heats up, compounding whatever the starter itself is dealing with. Step up to a heavier-gauge cable with XLPO insulation, which tolerates higher continuous temperatures than standard PVC-jacketed wire, and make sure every lug is properly crimped rather than just twisted and taped. A loose or corroded ground strap causes the exact same symptoms as a heat-soaked starter, so re-check that ground-path voltage drop against the 0.1-volt threshold from the diagnostic section above.
If the OEM shield is missing, fabricate a replacement rather than skipping it. Plenty of vehicles left the factory with a stamped metal shield between the manifold and starter that gets removed during other repair work and never goes back on. If you’re building a replacement, maintain at least a 25 millimeter (1 inch) air gap between the shield and the starter housing so the shield itself doesn’t become a heat sink pressed directly against the motor.
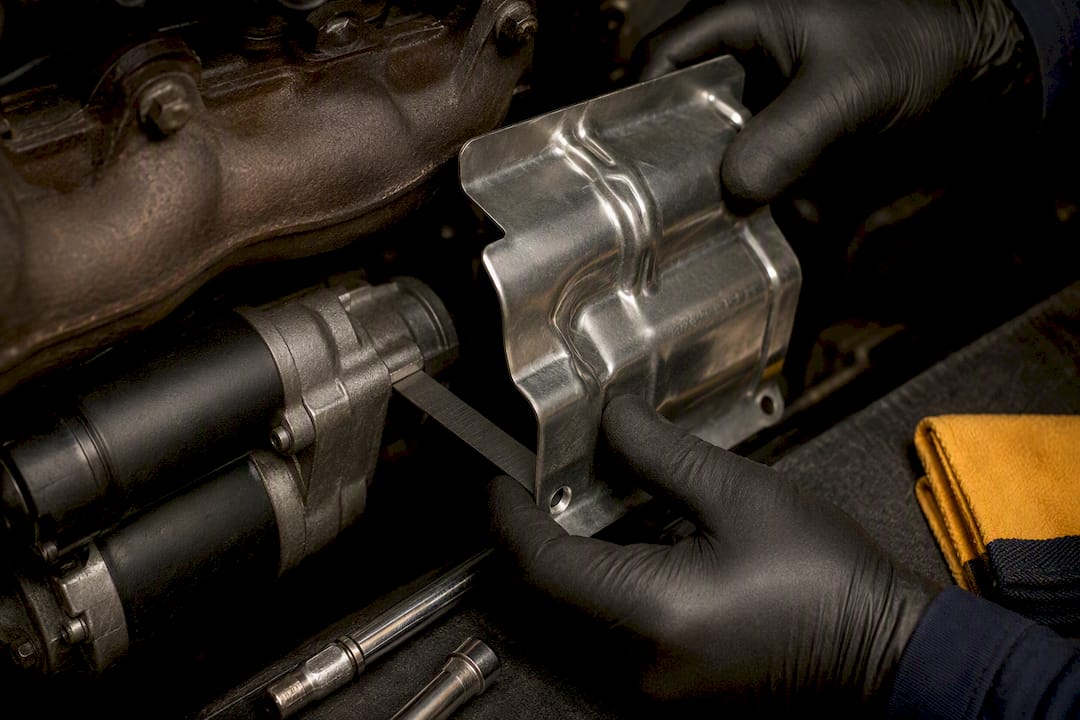
One thing not to do: wrap or insulate the exhaust manifold itself to protect the starter. That traps heat against the manifold and head, which can accelerate gasket failure and cause far more expensive damage than a slow-cranking starter ever would. Shield the starter, not the exhaust.
Keep the engine bay clean while you’re in there, too. Grime and oil buildup on a shield’s surface reduces its reflective efficiency over time, and a proper engine bay cleaning routine protects both the shield and the surrounding wiring insulation from premature breakdown.
Finally, build a habit around service work: every time the starter or exhaust gets touched, reinstall the OEM shield before buttoning things up, and recheck shield condition anytime you add headers or a turbo, since those upgrades routinely push more radiant heat toward a starter that was never designed to handle it.
When Shielding Won’t Fix It: Signs You Need a Replacement
Shields and wiring fixes solve the majority of heat-soak complaints, but not all of them. If you’ve corrected the ground path, upgraded the cable, installed a proper shield, and the hot no-crank symptom persists exactly as before, the starter itself has likely sustained internal damage that no amount of thermal protection will undo.
Look for these signs that point to internal failure rather than an external heat problem:
- Hot current draw stays elevated by 100 amps or more even after shielding and wiring fixes are in place.
- Grinding, growling, or a harsh mechanical noise on engagement, which suggests bushing or bearing wear.
- Visible arcing, pitting, or a burnt smell near the solenoid contacts.
- Intermittent failure that has gotten more frequent over weeks or months rather than staying constant.
At that point, a remanufactured starter is the more dependable route than a cheap aftermarket unit, since remanufactured units get tested against OEM specs and come backed by a warranty rather than a hope. Rebuild Masters carries starters covering a wide range of applications, including the 3267 starter for Ford F-Series, Mustang, Expedition, and E-Series, the 3273 starter for Mustang, Explorer, and Ranger, and the 17825 starter for Camry, Highlander, and RAV4. Check your specific year and trim against the fitment listed on each page before ordering.
What a Trustworthy Remanufactured Starter Actually Looks Like
A remanufactured starter is only as good as the process behind it. A credible rebuild involves insulation resistance testing on the windings, a full load test under simulated cranking conditions, and replacement of common wear items like bushings, brushes, and solenoid contacts rather than just cleaning up the old ones.
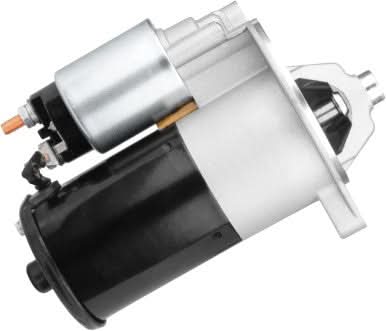
Rebuild Masters builds every unit to meet or exceed OEM specifications, runs each one through testing before it ships, and backs the work with a warranty and same-day shipping for anyone who can’t afford downtime. That process matters more with starters than with most parts, since a rebuild that skips the internal wear items will fail from heat soak again within months. For more on how that rebuild process works, see this breakdown of starter rebuild parts and lifecycle value.
What I’d Actually Check Before Replacing a Starter
Test first, shield second, replace last. That order isn’t just cautious. It’s cheaper, and it stops you from throwing a new starter at a problem that was really a $15 ground strap the whole time.
The mistake I see most often is pulling the OEM heat shield during other engine work and never putting it back, usually because it’s an extra ten minutes of hassle. The second most common mistake is assuming a hot no-start is always the battery, running out and buying one, and being surprised when the exact same symptom shows up a week later. Run the current-draw delta test before you buy anything. It doesn’t lie.
— Ismael
Get the Right Remanufactured Starter for Your Vehicle
If your voltage-drop and current-draw numbers came back outside spec after shielding and a wiring cleanup, you’re not looking at a heat problem anymore. You’re looking at a starter that needs to come out. A supplier that remanufactures units with new components, tests them against OEM specifications before shipping, and offers a warranty can provide more reliability than bargain-bin parts prone to early failure.
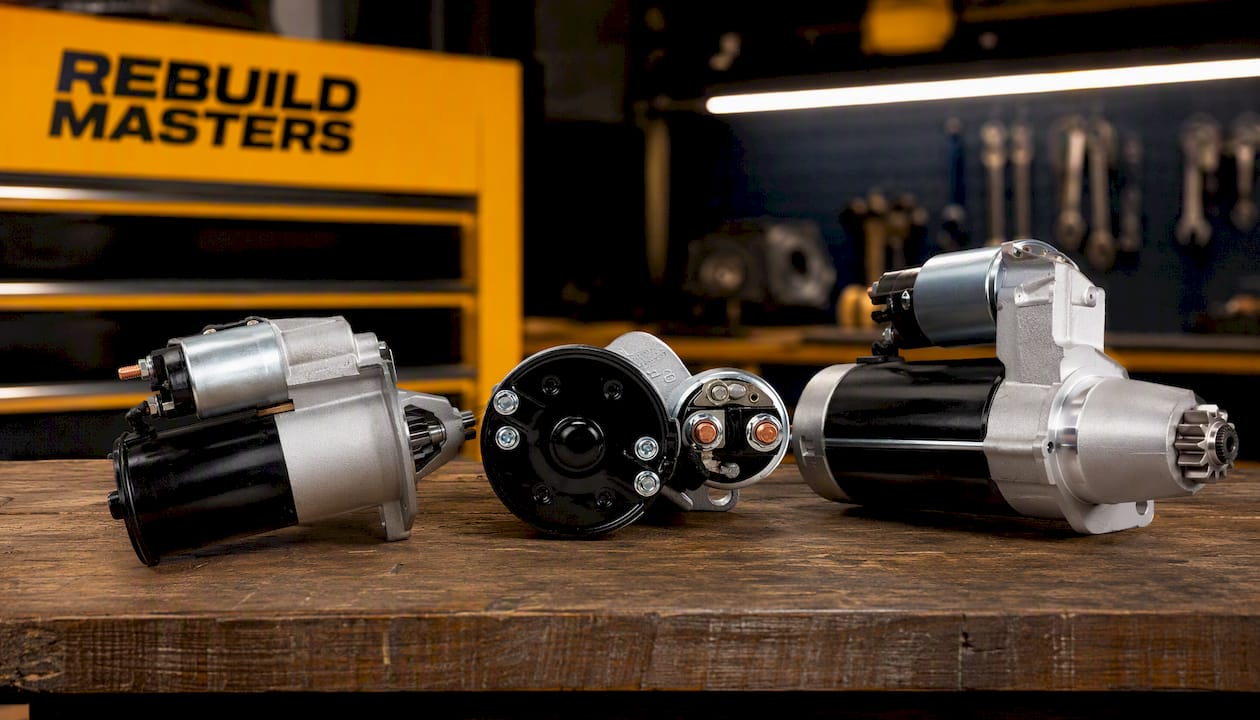
Rebuild Masters carries direct-fit options for the vehicles covered in this guide, including the 3267 starter for F-Series trucks, Mustang, and Expedition, the 3273 starter for later Mustang, Explorer, and Ranger applications, and the 17825 starter for Camry, Highlander, and RAV4. Browse the full rebuilt starters lineup to check fitment for your exact year and trim, or look at rebuilt alternators if your charging system is showing its own signs of age. Confirm your vehicle’s fitment and place your order today.
Sources
- Starter will not crank when hot (Heat Soak) | KnowYourParts
- DC starter heat soak troubleshooting: Causes and fixes – Industrial Monitor Direct
- Starter shield product datasheet (Heatshield Products)
FAQ
How Do You Protect a Starter From Heat Soak?
Install a heat shield made from basalt or volcanic rock fiber, positioned with the seam facing away from the exhaust, and keep at least a 25 millimeter air gap if you’re fabricating a replacement for a missing OEM shield. Pair the shield with a properly torqued, heavier-gauge B+ cable, since a degraded connection makes heat soak worse.
Does Heat Soak Reduce Horsepower?
Heat soak primarily affects the starter’s electrical performance during startup, not the engine’s running horsepower. The term “heat soak” also gets used loosely for intake air heating that can reduce power slightly on some engines, but that’s a separate issue from a starter dragging on a hot restart.
What Kills a Starter Motor?
Sustained heat exposure that breaks down winding insulation, worn bushings and bearings from repeated thermal expansion, and solenoid contacts that pit or weld shut from arcing under load are the most common causes. A large jump in hot current draw compared to cold is the clearest sign one of these failure modes is already underway.
How Do You Fix a Heat Soak Issue?
Run voltage-drop and current-draw tests first to confirm whether the problem is the cable, ground, or the starter itself. If the circuit checks out clean and the starter still fails hot, install a rated heat shield and upgrade any corroded wiring; if the symptom persists after that, a remanufactured starter is the reliable next step.
Can a Bad Ground Cause Symptoms That Look Like Heat Soak?
Yes, and it’s one of the most overlooked causes. A corroded or loose ground strap raises resistance under load in exactly the same “cranks cold, dies hot” pattern, which is why the voltage-drop test on the ground path (0.1 volts or less) should happen before you touch the starter.