Cart
0
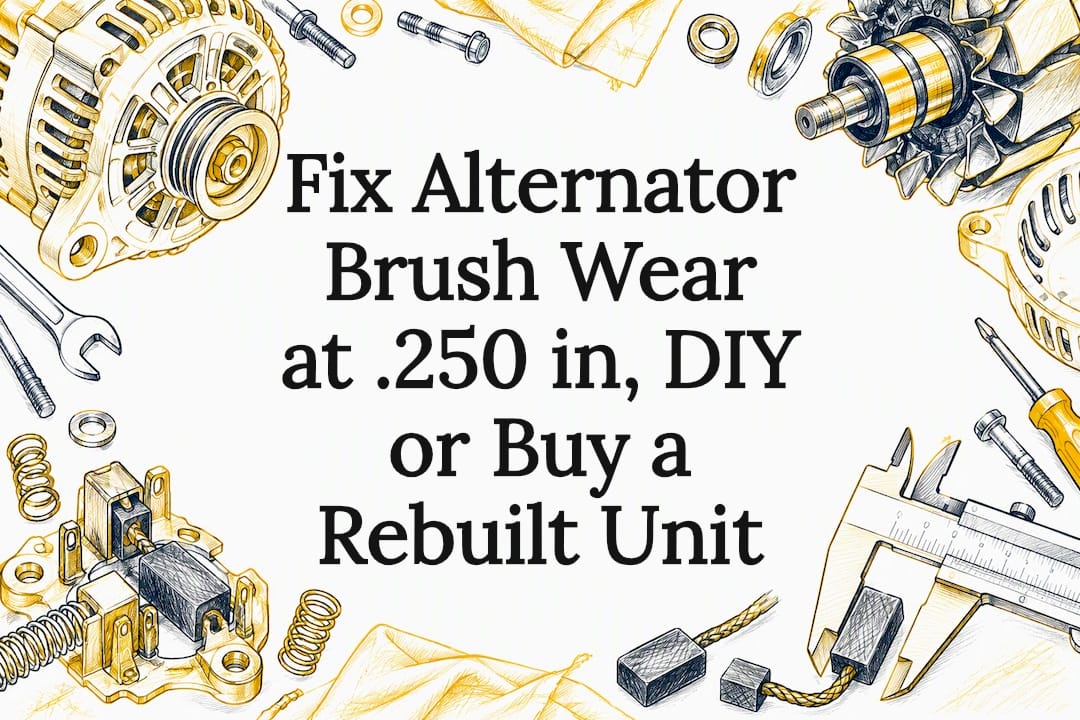
If your charging light flickers, your battery drains at idle, or your voltage reading swings under load, worn alternator brushes are a likely cause and you should inspect them now. Pull the brush box, measure what remains, and replace any brush that protrudes less than .250 inches, about 6 millimeters, or sooner if the manufacturer marks it worn about halfway.
TL;DR:
- Common symptoms indicating worn brushes include flickering charging lights, unstable voltage when accessories are on, or batteries that drain overnight.
- Visual inspection requires disconnecting the battery, removing the alternator, and measuring brush protrusion while checking for spring tension and surface condition.
- Proper cleaning of slip rings involves gentle wiping with spirit and avoiding heavy filing, with professional resurfacing if deep grooves are present.
- Replacing brushes alone is suitable if slip rings are intact and brushes are just worn, but persistent fault signs or damaged slip rings favor replacing the entire alternator.
Table of Contents
- Symptoms and electrical signs pointing to brush wear
- How to inspect alternator brushes and measure wear safely
- When to replace brushes: criteria and common causes of premature wear
- Step-by-step procedure to remove and replace alternator brushes
- Cleaning slip rings safely and when to seek professional resurfacing
- Routine maintenance and ways to extend brush life
- Diagnostic tests beyond visual inspection
- Practical decision rules worth following
- Consider a rebuilt alternator when brush repair isn’t enough
- FAQ
- Sources
- Primary sources and technical references
Symptoms and electrical signs pointing to brush wear
Brush wear rarely announces itself with one clean symptom. It shows up as a pattern of small electrical complaints that get worse under load or heat.
- A charging light that dims, flickers, or pulses instead of staying steady once the engine runs.
- Voltage that swings or sags when you switch on headlights, the blower motor, or the rear defroster.
- A battery that drains overnight or struggles to hold a charge despite testing fine on its own.
- A faint burning or arcing smell near the alternator, sometimes with visible sparking if you can safely observe the slip rings while the engine idles.
A quick triage: watch the dash charging light at idle and at 2,000 RPM, then check battery voltage with a multimeter under both conditions. A reading that climbs with RPM but never stabilizes near 13.5 to 14.5 volts points toward the brushes or slip rings rather than the battery itself. For a broader rundown of what else can cause these symptoms, our overview of alternator failure signs covers related faults worth ruling out first.
How to inspect alternator brushes and measure wear safely
Before touching anything electrical, disconnect the battery’s negative terminal. Depending on the vehicle, you can sometimes access the brush box without pulling the alternator, but many designs require removal.
- Disconnect the battery and note the wiring layout before loosening anything.
- Remove the alternator or access panel per your vehicle’s service steps.
- Take off the brush box cover and slide out the brush holder.
- Measure how far each brush protrudes from its holder; How a Car Works notes that brushes marked with a wear limit are typically renewed once worn about halfway down.
- Check spring tension by pressing the brush in and releasing it; it should spring back firmly, not slowly.
- Inspect the brush face for chipping or a glazed, shiny surface, and check that the terminal wires and holder are free of corrosion.
With the alternator free to spin, the brushes should snap firmly against the slip rings once any retaining wire is removed, confirming they move freely in the holder.
Pro Tip: Spin the rotor by hand before reassembly and watch the brush faces; hesitation or uneven contact usually means the spring or holder needs attention, not just the brush.

When to replace brushes: criteria and common causes of premature wear
Replace a brush once it protrudes less than .250 inches (about 6 mm) from the housing, or immediately if you see chipping, cracking, or weak spring pressure. Persistent charging faults after you’ve ruled out the battery and belt also point back to the brushes or the slip rings they contact.
Brush life is not a fixed mileage number. It depends on engine running hours, electrical load, underhood heat, spring tension, and how clean the slip rings stay, which is why How a Car Works treats inspection and a charging test as more reliable than replacing on a schedule.
Common causes of early failure include:
- Oil or grease contamination reaching the brush holder and slip rings.
- Worn alternator bearings that let the rotor wobble and wear brushes unevenly.
- Sustained heavy electrical loads from aftermarket accessories that keep the brushes under constant current draw.
Step-by-step procedure to remove and replace alternator brushes
Gather your tools before you start: basic hand tools, the correct replacement brushes and springs for your alternator, electrical contact cleaner, a fine file, and dielectric grease if your connector calls for it.
- Disconnect the battery and photograph or label the wiring before you remove anything.
- Remove the alternator from the engine, or access the rear cover if your design allows in-place service.
- Take off the brush box cover and set aside its fasteners somewhere you will not lose them.
- Remove the brush terminal strips and springs, noting their orientation.
- Inspect the brush holders for cracking and check the slip rings for grooves or heavy carbon buildup.
- Install the correct replacement brushes and springs, seating them so they move freely without binding.
- Reassemble the brush box cover and reconnect the wiring exactly as documented.
- Run a bench or in-car functional check before calling the job finished.
Keep every screw and clip organized as you go. Small parts are easy to lose and harder to source individually. Avoid letting grease or cleaner drip onto the slip ring surface, and never take a file to the slip rings themselves beyond very light smoothing. If the voltage regulator or diode shows signs of failure during inspection, address that at the same time rather than reassembling around a second problem, and torque the output terminal to spec so it does not loosen under vibration.
Pro Tip: After reassembly, spin the alternator by hand or briefly with a drill at low speed before full installation; it lets you catch arcing or poor brush seating while the unit is still easy to access.
Once it is back in the vehicle, check charging voltage at idle and again under load (headlights and blower on), and listen for any new noise or smell that suggests the brushes still aren’t seating correctly.
Cleaning slip rings safely and when to seek professional resurfacing
Light carbon buildup on the slip rings often responds to a soft cloth or brush dampened with isopropyl or methylated spirit, which How a Car Works recommends over more aggressive methods since the slip ring metal is thin.
- Wipe the rings with a lint-free cloth and spirit, rotating the rotor by hand to reach the full surface.
- Use very fine abrasive only if light polishing is genuinely needed, and stop well short of removing metal.
- Avoid heavy filing entirely; it can create flat spots that cause new arcing once the brushes are reinstalled.
- Send the alternator to a specialist if the rings show deep grooves or significant scoring, since that calls for proper resurfacing equipment.
After any cleaning, recheck that the brushes seat evenly against the rings and run a charging test before you consider the job done.
Routine maintenance and ways to extend brush life
A few habits go a long way toward protecting new brushes once they are installed.
- Keep the engine bay clean and wipe up oil or grease near the alternator before it reaches the brush holder.
- Address bearing noise or belt misalignment quickly, since a wobbling rotor wears brushes unevenly.
- Avoid stacking heavy aftermarket electrical loads onto a stock alternator, and investigate charging problems as soon as they appear.
- A careful wash routine like a two-bucket method keeps grit out of the engine bay generally, which indirectly protects exposed electrical contacts from abrasive contamination.
When brush issues keep recurring or the slip rings are already damaged, replacing brushes a second or third time stops making sense, and a remanufactured alternator becomes the more practical fix.
Diagnostic tests beyond visual inspection
A visual check tells you whether the brushes look worn, but it does not always confirm they are the cause of a charging problem. A multimeter across the battery terminals with the engine running should read roughly 13.5 to 14.5 volts; a reading that stays low or fluctuates even with good-looking brushes suggests the regulator, diodes, or wiring deserve a look too.
A load test, where you switch on multiple accessories and watch whether voltage holds steady, exposes marginal brush contact that a static inspection misses. Some technicians also check AC ripple voltage on the output, since a failing diode produces a ripple pattern distinct from a brush problem, which helps separate the two faults before you reassemble anything.
Listening matters as well. A grinding or growling noise usually points to the bearings rather than the brushes, while a high-pitched whine that changes with RPM often tracks back to brush chatter against the slip rings. Combining the voltage readings, the load test, and what you hear gives a clearer answer than any single check on its own, and it keeps you from replacing brushes when the real fault sits in the regulator or bearings instead.

Practical decision rules worth following
Inspect before you buy anything. If the brushes measure short or look chipped and the slip rings are clean, a brush-only repair is often the quicker and cheaper path. Once slip rings show real scoring or brushes have failed more than once, a remanufactured alternator rebuilt and tested to OEM specifications, backed by a warranty, becomes the more dependable choice.
— Ismael
Consider a rebuilt alternator when brush repair isn’t enough
When the slip rings are scored, the failures keep repeating, or you would rather not spend an afternoon chasing a brush box, a remanufactured alternator solves the problem in one step. Every unit we offer uses new components, is thoroughly tested for reliability, and is backed by a warranty, with many orders shipped promptly.

- Fits a wide range of popular trucks and SUVs, including our 7750 alternator for Ford F-Series, Bronco, Explorer, and Ranger, our 7768 alternator for Ford F-Series, Explorer, Ranger, E-Series, and Mazda pickups, and our 7795 alternator for Crown Victoria, Town Car, and Grand Marquis.
- Backed by the same remanufacturing process we use across every unit we sell, so you get tested internals rather than a rebuilt brush box bolted onto worn parts.
Check fitment on our rebuilt alternators page or reach out to our support team if you’re not sure which part matches your vehicle.
FAQ
How can I tell if my alternator brushes are worn out?
Watch for a flickering charging light, a battery that drains overnight, or voltage that sags when accessories switch on. A direct check means pulling the brush box and measuring how far each brush protrudes, since How a Car Works notes brushes are typically replaced once worn about halfway.
How long do alternator brushes last?
Brush life depends on running hours, electrical load, heat, and contamination rather than a fixed mileage figure, so How a Car Works recommends inspection and a charging test over replacing by age alone. Some brushes carry a visible wear mark that tells you when they’re due.
How much do alternator brushes cost?
Brush cost varies by vehicle and brush type, so check pricing with a parts supplier for your specific alternator. If the slip rings are also damaged or brushes have failed repeatedly, a remanufactured alternator from our rebuilt alternators page can be a more complete fix than sourcing brushes alone.
How do I tell if carbon brushes need replacing?
Measure the brush protrusion and replace it once it falls below about .250 inches (6 mm) from the holder, or sooner if you see chipping or weak spring pressure. A brush that no longer springs back firmly when pressed is also due for replacement regardless of its measured length.
Sources
- Renewing alternator brushes | How a Car Works
- 10-1020 Brush Assembly Inspection/Replacement (Hartzell Aviation PDF)
Primary sources and technical references
- Renewing alternator brushes | How a Car Works: inspection thresholds, cleaning method, and brush fitting guidance.
- Brush Assembly Inspection/Replacement (Hartzell Aviation PDF): minimum protrusion threshold and bench verification steps.