Cart
0
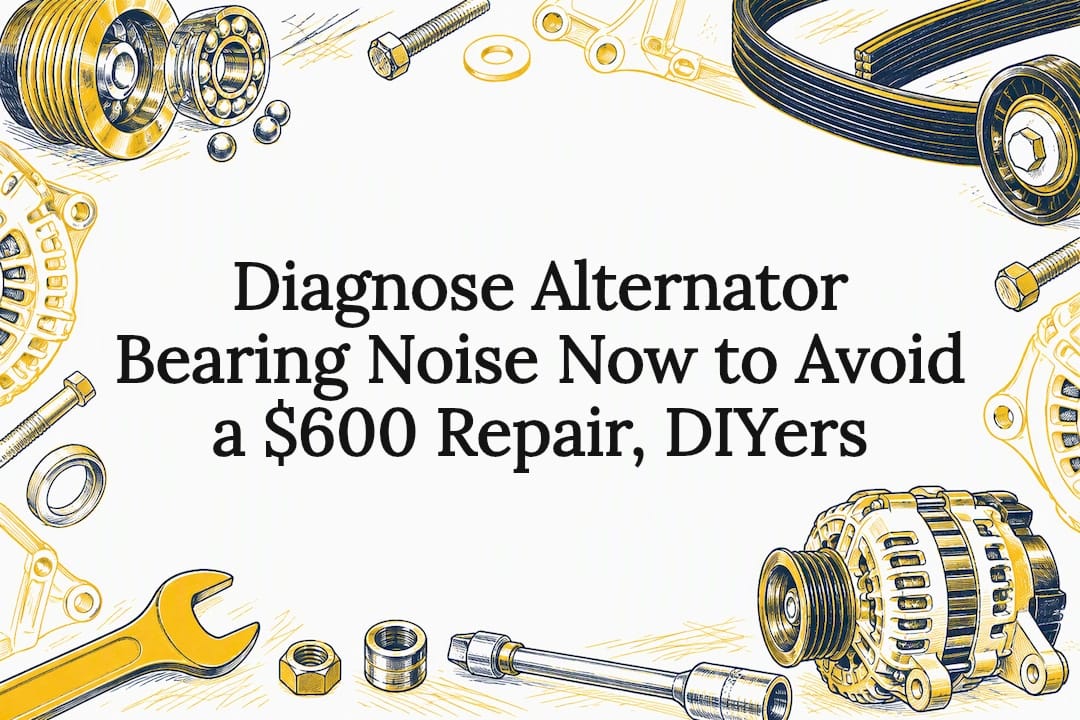
A grinding or whining noise that tracks engine RPM and stays put after you remove the drive belt most often points to a failing alternator bearing, and it needs attention soon. Left alone, a worn bearing can seize and take the rotor or stator with it. Isolate the sound first, then plan a repair before you’re stranded.
TL;DR:
- With the engine off and battery disconnected, remove the belt and spin the pulley; roughness, grinding, resistance, or wobble points to bearing wear.
- With the engine running, 13.8 to 14.5 volts is typical; readings outside that range point to regulator or brush trouble, not bearing wear alone.
- Bearing replacement needs a press and careful disassembly; when an alternator nears its typical 7 to 10 year lifespan, full replacement is usually preferable.
- Spray lubricant may quiet the bearing briefly and help confirm the source, but it can contaminate the belt and does not repair the wear.
Table of Contents
- 1. How do you confirm the noise is coming from the alternator?
- 2. What different alternator noises usually mean
- 3. Should you repair the bearing or replace the alternator?
- 4. Safe short-term steps while you plan a repair
- 5. What repair costs and timelines should you expect?
- 6. How remanufactured alternators address bearing failure
- 7. A quick recommendation before you decide
- 8. Find the right remanufactured alternator for your vehicle
- FAQ
- Sources
1. How do you confirm the noise is coming from the alternator?
Before you spend money on parts, run through a short sequence of checks that isolate the sound instead of guessing. Each step narrows the possibilities and keeps you from replacing a part that was never the problem.
Start with safety. Disconnect the negative battery terminal, take off rings and bracelets, and make sure the vehicle is on level ground with the wheels chocked before you put your hands anywhere near moving parts.
- Listen and isolate: Use an automotive stethoscope, or a long screwdriver pressed tip-first against the alternator housing with the handle near your ear, to localize the sound without touching the belt. Community-tested isolation techniques like these are an effective low-cost way to confirm alternator bearing noise before replacing parts.
- Belt-off spin test: With the engine off and the battery disconnected, loosen the tensioner, slip the belt off the alternator pulley, and spin the pulley by hand. Roughness, grinding, resistance, or noticeable side-to-side wobble points to a bad bearing rather than a belt issue.
- Multimeter charging check: With the belt back on and the engine running, a healthy alternator typically reads about 13.8 to 14.5 volts at the battery terminals. Readings outside that range suggest a regulator or brush problem rather than, or in addition to, bearing wear.
- Visual and smell check: Look for pulley play when you wiggle it by hand, metal shavings near the mounting bracket, or a scorched electrical smell that suggests internal winding damage rather than a simple bearing issue.
Our own stethoscope and belt-off spin walkthrough covers this same sequence in more detail if you want step-by-step photos alongside the process.
Pro Tip: Do the belt-off spin test before you touch a multimeter. A rough or grinding pulley rules in the bearing immediately and saves you from chasing an electrical fault that isn’t there.
2. What different alternator noises usually mean
Not every noise near the alternator comes from the bearing, and the pitch and timing tell you a lot before you open anything up.
- Grinding or crunching that worsens with time usually signals a failing bearing, since worn races produce a rough, metal-on-metal sound that tends to get louder the longer the alternator runs.
- A high-pitched chirp or squeal often points to a misaligned pulley or a glazed, worn, or loose belt rather than the bearing itself.
- A whine that rises and falls with electrical load, such as headlights or the blower motor switching on, suggests the alternator itself is working harder, which can amplify an existing bearing issue but doesn’t always confirm one.
- A rattle or clatter from the tensioner or idler pulley usually changes character when you press on the pulley arm directly, something a bearing noise will not do.
A grinding or whining sound near the alternator tends to worsen the longer it runs, and belt or tensioner problems can produce a very similar noise, which is why ruling them out matters before replacing anything.
Nothing accelerates alternator bearing wear faster than incorrect belt tension: a belt that’s too tight or too loose puts uneven load on the bearings and shortens their life, according to Haynes Manuals. Checking belt tension and tensioner condition is part of any proper bearing diagnosis, not a separate step.

3. Should you repair the bearing or replace the alternator?
Once you’ve confirmed a bad bearing, the next decision is whether to press in a new one or swap the entire unit. The honest answer depends on your tools, your alternator’s design, and how much risk you’re willing to take on.
- Bearing-only replacement requires a bearing press, the correct driver sizes, and careful disassembly of the alternator housing; getting it wrong risks scoring the housing or misaligning the rotor shaft.
- Modern alternators are tightly integrated, and because bearing repair needs specialty tools, replacing the whole unit with a tested remanufactured alternator is often the more reliable route for most DIYers.
- Delaying the decision carries its own cost: a seized bearing can let the rotor contact the stator, turning a bearing problem into a full internal failure that costs far more to fix.
- Age and mileage matter: alternators typically last about 7 to 10 years under normal use, so a unit near or past that range with confirmed bearing noise is usually a better candidate for full replacement than a bearing-only repair.
Our comparison of rebuilt versus new alternators walks through the cost and reliability trade-offs in more depth if you’re weighing your options.
4. Safe short-term steps while you plan a repair
If you can’t replace the alternator today, a few careful, temporary measures buy you time without pretending to fix the underlying problem.
- Spray lubricant as a diagnostic only: A short burst of spray lubricant on an accessible bearing can quiet the noise briefly, which helps confirm the bearing is the source, but it also risks contaminating the belt and only masks a problem that will return.
- Belt removal and hand-spin test: With the battery disconnected and the engine cold, loosen the tensioner, remove the belt, and spin the pulley by hand to feel for roughness before deciding on next steps.
- Keep your tools simple: an automotive stethoscope, a long screwdriver, and a basic multimeter cover almost every diagnostic step described here without needing a full shop setup.
- Avoid working near a running engine: never spray lubricant, reach near the belt, or test pulley play while the engine is running or the belt is installed and moving.
Pro Tip: If lubricant quiets the noise for a day or two and then it comes back louder, treat that as confirmation of bearing failure, not a fix. Lubricating a bearing can mask a failing component and contaminate the belt in the process, which makes it a useful diagnostic step but a poor long-term plan, according to reports from mechanics forums.
5. What repair costs and timelines should you expect?
Costs vary by vehicle and shop, but the general pattern holds across most makes and models.
- Bearing-only parts are the cheapest option on paper, but the labor to press them correctly, including possible alternator removal and reinstallation, often erases most of the savings.
- A remanufactured alternator costs more in parts than a bearing alone but comes pre-tested and typically takes less labor time since there’s no disassembly or pressing involved.
- Labor time differs sharply: a straight alternator swap is often a same-day job, while a bearing press can take longer when access is tight or the housing needs careful handling.
- Hidden damage adds time and cost: if the rotor or stator shows contact marks from a seized bearing, the repair shifts from a bearing job to a full alternator replacement regardless of your original plan.
- Same-day replacement is worth prioritizing if you rely on the vehicle daily or you’ve already heard the noise worsen, since a seized bearing can leave you stranded with no warning.
6. How remanufactured alternators address bearing failure
Once a bearing has failed, the question shifts from diagnosis to finding a dependable replacement, and that’s the part of the process we know best.
- We specialize in remanufactured automotive parts, with alternators and starters built to meet or exceed OEM specifications.
- Every unit goes through a remanufacturing process with rigorous testing and quality control before it ships, aiming to catch the kind of bearing and winding issues that cause repeat failures.
- Same-day shipping on urgent orders can be an option, which matters when a vehicle is already showing signs of an imminent seizure.
- Our own troubleshooting content, including a breakdown of alternator whine causes and model-specific listings like the 02-06 Nissan Altima alternator, reflects the same diagnostic approach covered here applied to specific vehicles.
A tested, remanufactured unit sidesteps the risk of a hand-pressed bearing shifting out of alignment later, which is the kind of failure that sends a car back into the shop within months.
7. A quick recommendation before you decide
Confirm the noise with a belt-off spin test before you spend a dollar, and if the pulley is rough or grinding, plan on replacement rather than a bearing-only repair. Waiting past the point where the noise is already loud is how a $200 problem becomes a $600 one.
— Ismael
8. Find the right remanufactured alternator for your vehicle
Once you’ve confirmed a bad bearing, the fastest way back on the road is a unit you don’t have to second-guess. Rebuilt alternators are tested to OEM specifications and backed by a warranty.

- Browse our full Rebuilt Alternators lineup to find your vehicle’s listing by year, make, and model.
- If you drive a Toyota Tacoma, check the 05-07 Toyota Tacoma alternator or the 05-09 Toyota Tacoma alternator listings for the correct fit by model year.
- Nissan Altima owners can find a direct match on our 02-06 Nissan Altima alternator page.
- We also carry Rebuilt Starters if your diagnosis turns up a separate starting issue while you’re under the hood.
If you’re weighing the economics of a rebuild more broadly, the SuperCars.Parts guide on rebuild economics for salvage vehicles covers similar repair-versus-replace math for higher-value cars.
FAQ
How do I know if my alternator bearing is bad?
A grinding, crunching, or whining noise that continues when you spin the pulley by hand with the belt removed is the clearest sign of a bad bearing. Pulley wobble, visible play when you wiggle the pulley, or a noise that grows louder over days also point to bearing wear rather than a belt or tensioner issue.
How do you fix a noisy alternator bearing?
Most vehicle owners replace the entire alternator with a tested remanufactured unit rather than pressing in a new bearing, since modern alternators are tightly integrated and bearing repair requires a bearing press and specific tools. A remanufactured alternator avoids the risk of misalignment that can come with a hand-pressed bearing repair.
How much does it cost to fix an alternator bearing?
Costs vary by vehicle and shop, with bearing-only parts costing less than a full alternator but often requiring comparable or greater labor to press correctly. A remanufactured alternator typically involves less labor time since it installs as a complete, pre-tested unit rather than requiring disassembly.
Can you lubricate an alternator bearing?
A short burst of spray lubricant can quiet a noisy bearing temporarily and help confirm that the bearing is the source of the sound. It isn’t a lasting fix, since lubricant can mask ongoing wear and contaminate the drive belt, and the noise typically returns once it wears off.
Sources
- Mechanics
- When good alternators go bad and why - Haynes Manuals
- Honda Civic alternator replacement: The essential guide - Haynes Manuals North America
- Bad alternator vs. bad battery: A quick guide | AAA Automotive