Cart
0
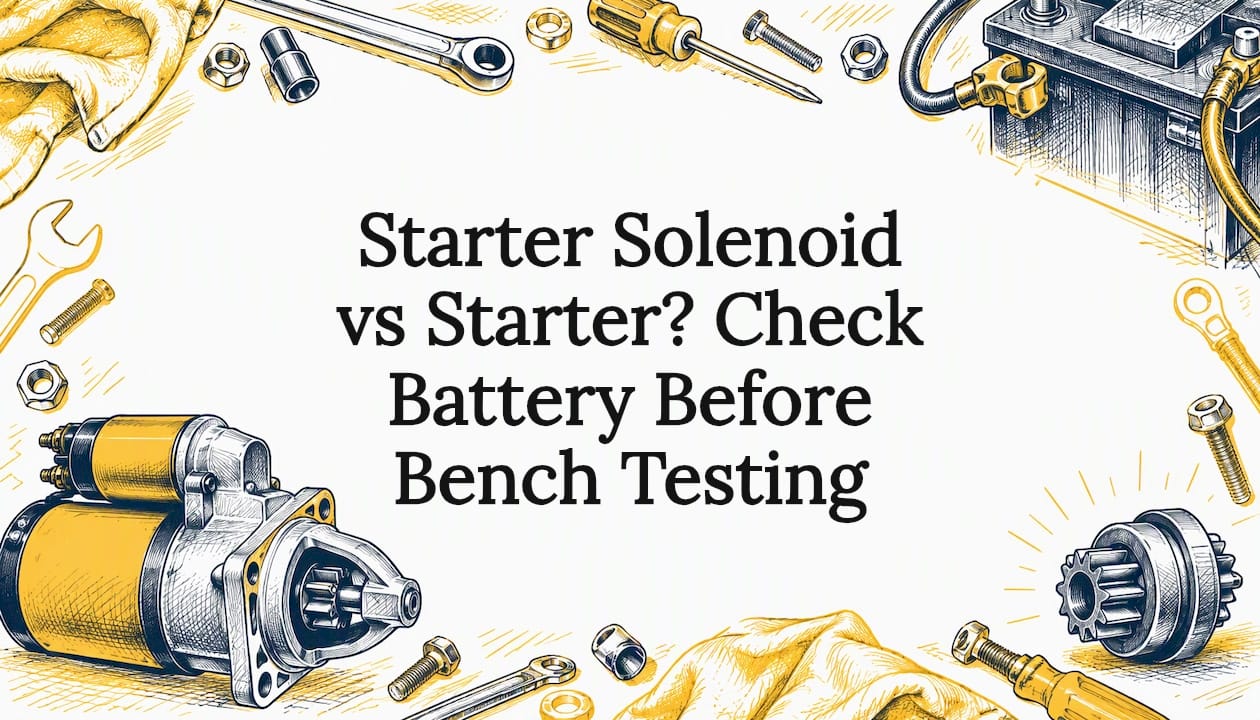
A loud click or total silence usually points to the solenoid or its control circuit, while a starter that spins freely without cranking the engine, or grinds and drags, usually points to the starter motor itself. Before you buy anything, check battery voltage and clean, tight cable connections. If those pass and the starter is confirmed bad, a remanufactured starter is a practical fix.
TL;DR:
- Rapid clicking or silence often traces to the battery, cables, or control circuit; a single click remains ambiguous, while whirring or grinding implicates the starter assembly.
- Check battery condition and cable connections first, then measure voltage drop on both sides while cranking before testing the solenoid’s control signal.
- If control voltage reaches the solenoid, a motor that runs under direct power but not through its contacts points to a solenoid fault.
- If bench tests show internal damage, choose a complete remanufactured unit when access drives labor costs, and confirm vehicle fit and warranty terms before ordering.
- Use live jump tests only in park or neutral with the parking brake set and an insulated jumper; disconnect the negative battery cable before removal.
Table of Contents
- Which symptoms point to the solenoid and which to the starter?
- How do the starter motor and solenoid work together?
- What is the right order for testing a no-start?
- When should you replace the solenoid, rebuild, or buy a remanufactured starter?
- How do you test a starter safely?
- Why do we recommend remanufactured starters?
- A mechanic’s take: test first, replace once
- Ready to replace a confirmed bad starter?
- FAQ
- Sources
- Where can you read more technical detail?
Which symptoms point to the solenoid and which to the starter?
What you hear when you turn the key tells you more than most owners expect. Use it to decide where to test first, not as a final verdict.
- A loud click, nothing else: the solenoid is engaging, but the high-current path to the motor is not completing. Worn solenoid contacts, a weak battery, or a corroded cable can all cause this.
- Rapid clicking: usually low battery voltage or a poor positive or ground connection. The solenoid pulls in, voltage collapses, it drops out, and the cycle repeats.
- Complete silence: the solenoid is not activating at all. Think open coil, no ignition feed signal, or a failed ground, and also check the starter relay and the neutral safety switch.
- Whirring without turning the engine: the motor spins but the pinion is not engaging the flywheel. That points to a drive or freewheel problem inside the starter.
- Starter keeps running after you release the key: often welded solenoid contacts or a stuck engagement. We cover what to do right away in the safety section below.
To triage, work from the outside in. Rapid clicking and silence often trace back to the battery, cables or control circuit before the starter is ever at fault. A single click sits in the middle: it could be the solenoid, a voltage drop in the cable, or a worn motor drawing too much current. Whirring or grinding points at the starter assembly. If you want a longer list of warning signs, our guide to warning signs of a failing starter goes deeper, and our common signs of a bad starter article helps separate motor faults from solenoid faults.
How do the starter motor and solenoid work together?
The starter motor is an electric motor. Its only job is to deliver enough torque to turn the engine over until it fires. It draws a large amount of current to do that, which is why the cables are thick and why a small resistance problem can stop it cold.
The solenoid is an electromagnetic switch that performs related functions. When you turn the key, a control current energizes a coil. That coil pulls a plunger that pushes the drive gear (the pinion) forward into the flywheel, and at the same moment it closes a heavy set of contacts that sends battery current to the motor. The signal triggers a mechanical movement and an electrical connection.
Most vehicles package the two together on the engine, which is why people use the words loosely. It also explains why the faults overlap. A solenoid with burned contacts can click loudly and leave a perfectly good motor sitting idle, so it looks like a dead starter. A worn motor with high internal resistance can pull battery voltage down so far that the solenoid chatters, so it looks like a solenoid problem.
Each part has its own typical failures:
- Solenoid: pitted or contaminated contacts, a burned-out coil, a weak return spring, or contacts that weld together.
- Starter motor: worn brushes, a damaged commutator, shorted or open windings, a worn pinion or drive clutch, and dry or worn bushings that let the armature drag.
If you are curious about the relay that sits upstream of the solenoid on many vehicles, our walkthrough of DIY tests for starter relay symptoms shows how to rule it in or out before you condemn the starter.
What is the right order for testing a no-start?
Test from the cheapest and most likely cause toward the most involved. The goal is to rule out the battery and wiring before you touch the starter. HELLA’s technical troubleshooting flow for the starter follows the same logic: check the battery and supply first, then test the switch and the motor.
- Inspect the battery and terminals. Look for white or green corrosion, loose clamps, and frayed cable ends. Wiggle each clamp by hand. A loose terminal alone can cause clicking or silence.
- Measure resting voltage. A healthy, charged battery should read within its normal resting-voltage range with the engine off. A reading well below that means you are chasing a battery or charging problem, not a starter problem. Charge or replace the battery before going further.
- Watch voltage under cranking. Have a helper turn the key while you watch a voltmeter on the battery posts. If voltage collapses sharply the moment the key turns, suspect the battery, a bad connection, or a starter drawing excessive current.
- Check the cables with a voltage-drop test. Measure between the battery positive post and the large terminal on the starter while cranking, then between the battery negative post and the engine block. A large drop on either side means resistance in that cable or connection, and the fix is cleaning or replacing it, not the starter.
- Confirm the solenoid gets its control signal. With the key in the start position, check for voltage at the small control terminal on the solenoid. No voltage means the problem is upstream: the ignition switch, the starter relay, a fuse, or the neutral safety switch. Voltage present plus a click points at the solenoid or motor.
- Run a controlled jump test. With the vehicle in park or neutral, parking brake set, and the battery connected, briefly bridge the battery positive feed to the solenoid’s control terminal using an insulated jumper. If the starter cranks normally, the starter and solenoid are likely good and the fault is in the control circuit. If it still only clicks or does nothing, the starter assembly is the suspect. Use short touches only.
- Bench test the starter. Remove the unit and, following HELLA’s guidance, remove the battery cable at terminal 30 and apply power directly to the contact screw to see whether the solenoid contacts are contaminated or worn. Then compare a direct-powered motor run against solenoid operation. If the motor spins freely when powered directly but fails through the solenoid, the contacts are the problem. If the motor itself drags, sparks heavily, or will not turn, the armature, brushes, or windings are at fault.
Pro Tip: Do the voltage-drop test before you pull anything. A clean battery post can hide a corroded cable end underneath the insulation, and a few minutes with a voltmeter can save you from replacing a starter that was never bad.
Here is how to read the results:
- Control signal missing: repair the upstream circuit, not the starter.
- Good signal, motor spins when powered directly, solenoid will not pass current: the solenoid or its contacts need replacing, or the whole assembly if the solenoid is not sold separately for your model.
- Motor drags, smokes, or will not turn even when powered directly: replace or rebuild the starter.
- Large voltage drop in cables: fix the cable or connection and retest.
When should you replace the solenoid, rebuild, or buy a remanufactured starter?
Let the test results make the decision.
- Solenoid-only repair makes sense when the bench test shows a healthy motor and a worn or burned solenoid, and a separate solenoid is available for your starter. It is the lowest parts cost when labor to remove the starter is not much more than the labor for a full swap.
- A rebuild or full replacement makes sense when the motor shows internal damage, such as heavy arcing, scorched windings, worn brushes, or a dragging armature. Replacing only the solenoid on a worn motor often just brings the same symptoms back within a short time.
- Labor is the real cost driver. On many vehicles the starter sits low or deep, so most of the job is getting to it. If you are already paying for that access, installing a complete, tested unit usually beats installing a part that may fail again soon.
- A remanufactured starter fits the confirmed-bad case. It is rebuilt with new wear components, tested before shipping, and covered by a warranty, which may offer a longer-term answer than patching one worn part.
If your starter stays engaged after the key is released, read our quick guide on swapping a relay before buying a starter, since a stuck relay can mimic a failed unit.
How do you test a starter safely?
Most no-start testing is low risk, but a starter circuit carries very high current, so respect it.
Disconnect the negative battery cable before removing the starter, before touching the large terminals, and before any repair work near the cables. Controlled live tests, like watching voltage or briefly bridging a control terminal, are acceptable only with the vehicle in park or neutral, the parking brake set, and your hands, jewelry, and tools clear of the large terminals and moving parts.
Keep cranking short. Long continuous cranking overheats the starter windings and drains the battery fast, so crank in brief bursts and let the starter rest between attempts while you watch voltage.
When you jump the starter, use an insulated jumper and touch it only briefly. Avoid it altogether if you cannot be sure the transmission is in neutral or park, if the area around the starter is soaked in fuel or oil, or if you are working alone and cannot keep clear of the vehicle.
If the starter keeps running after you release the key, shut the engine off immediately and disconnect the battery if it does not stop. HELLA’s troubleshooting guide also advises checking the ignition switch and relay in that case.
Stop and call a professional if you see smoke, smell burning insulation, find melted wiring, or cannot reach the starter safely.

Why do we recommend remanufactured starters?
Once testing confirms the starter itself is bad, you need a replacement you can trust. At Rebuild Masters, each starter we sell is remanufactured: we rebuild it with new wear components and test it to meet or exceed OEM specifications. We back our parts with a warranty and offer shipping when you need to get a vehicle back on the road quickly.
For a deeper look at the process and why it holds up in daily use, see our explainer on remanufactured starters as a reliable solution.
We carry starters matched to some of the most common fits that readers of this guide ask about:
- A starter for select GMC Yukon, Suburban, and Silverado/Sierra models.
- A starter for select Ford F-150 models.
- A starter for select Chevrolet Cobalt, Cavalier, and Malibu models.
A mechanic’s take: test first, replace once
I think most no-start repairs go wrong because people skip the boring checks and jump to the expensive part. My own order never changes: battery, terminals, ignition feed, then bench test the starter. If the first three are clean and the motor still fails on the bench, the starter is guilty and I stop second-guessing.
On the repair-versus-replace question, I lean toward replacing the whole unit. When the labor to pull a starter is the biggest line on the bill, putting a tested complete unit back in beats betting on a single worn part. The one thing I would never skip is confirming that the part fits your exact year, make, and model, and reading the warranty terms before you order.
— Ismael
Ready to replace a confirmed bad starter?
If your tests point to the starter, we can get you the right unit quickly. 
Start with our rebuilt starters page, or go straight to the match for your vehicle:
- Starter for select GMC Yukon, Suburban, Silverado/Sierra models
- Starter for select Ford F-150 models
- Starter for select Chevrolet Cobalt, Cavalier, and Malibu models
Before you order, confirm the fit for your year, make, and model, check the warranty, and review the return policy. If you are unsure about fit or need faster shipping, contact our support team and we will help. If your charging system is also suspect, our rebuilt alternators are worth a look.
FAQ
What do R and S stand for on a starter solenoid?
On many solenoids, S is the “start” or “switch” terminal that receives the control signal from the ignition switch or starter relay. R is typically the terminal tied to the ignition resistor bypass on older systems, and it is not present on every solenoid. Check your vehicle’s wiring diagram, because terminal markings vary by model.
Why does a starter motor use a solenoid?
The solenoid lets a small control current from the ignition switch manage the very high current the motor needs. It also pushes the drive gear into the flywheel at the same moment it closes the heavy contacts, so engagement and power happen together.
What happens if a starter solenoid is bad?
You will typically hear a click, rapid clicking, or nothing at all, and the engine will not crank even though the battery is healthy. A solenoid with welded contacts can also leave the starter running after you release the key, which calls for shutting the engine off immediately.
How do I test a starter solenoid?
First confirm the battery and cables are good, then check that the solenoid’s control terminal receives voltage when the key is turned. If it does, bench test the unit by applying power directly to the contact screw to see whether the contacts pass current, as described in HELLA’s starter checking guide.
Where can you read more technical detail?
For OEM-style troubleshooting tables and flowcharts, we recommend HELLA’s starter checking guide.