Cart
0
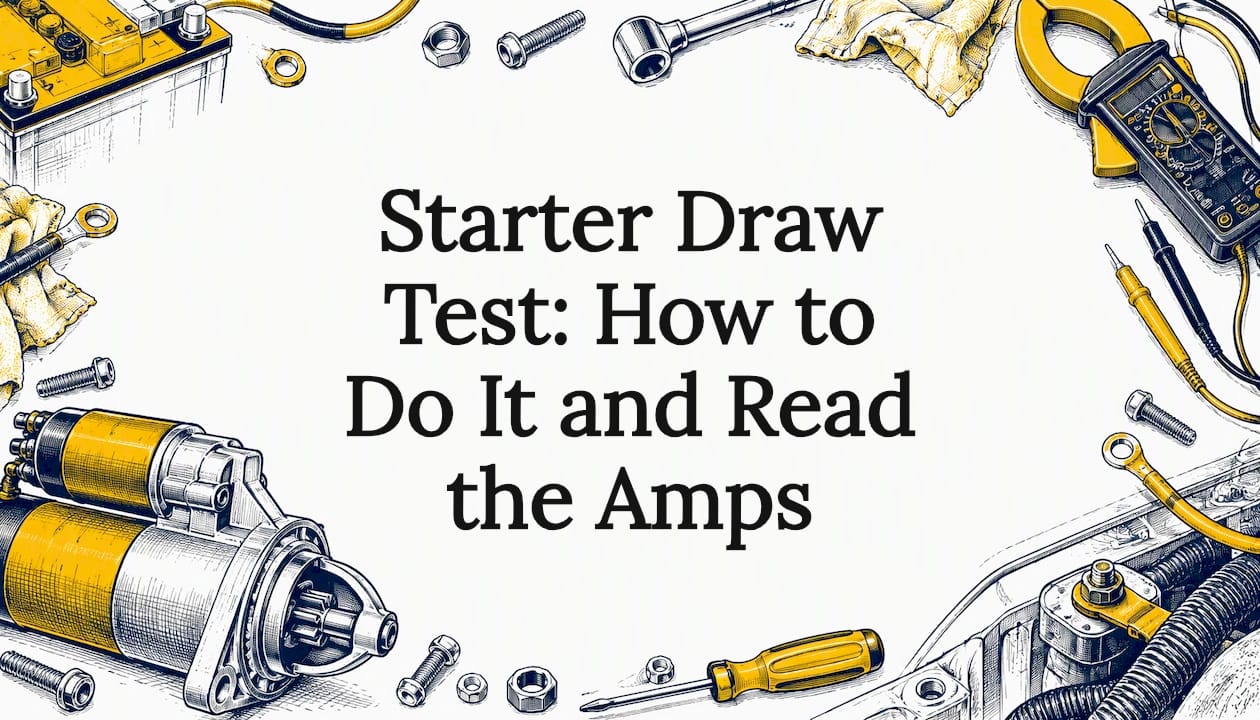
A starter draw test measures how much current the starter pulls while the engine cranks, so you can tell whether the starter, the battery, the cables or the engine is the real problem. You need an inductive DC clamp-on ammeter, a voltmeter, a fully charged battery and a way to keep the engine from starting. Compare the peak amps and the cranking voltage with the manufacturer’s specification, then read the numbers together with how fast the engine turns.
TL;DR
- A starter draw test measures the amps used by the whole starting circuit and gives a quick read on the starter and its related parts, according to a Navy-era construction equipment manual.
- Start with a fully charged battery and clean, tight terminals, disable fuel or ignition, and never crank for more than 30 seconds at a time.
- Use the service manual figure first. Without it, general maximums run roughly 150 to 185 A for 4-cylinder engines, 160 to 200 A for 6-cylinder and 185 to 250 A for 8-cylinder engines.
- High amps with slow cranking points to the starter or engine drag. Low amps with slow cranking points to resistance in the circuit or a weak battery.
- Amps alone never settle the question. Follow an odd reading with voltage drop tests before you buy a part.
Table of Contents
- What a starter draw test tells you
- Tools and prep before you test
- How to run the test safely
- How many amps should a starter draw?
- Reading the results
- Follow up with voltage drop tests
- Starter load test vs. draw test
- Starter, battery, cables or engine: sorting it out
- Common mistakes that skew the numbers
- Our perspective on diagnosing before replacing
- When the tests point to the starter
- FAQ
- Sources
What a starter draw test tells you
When you turn the key, the starter motor pulls a large burst of current from the battery. That current depends on how hard the starter has to work and how easily electricity can reach it. A draw test captures that number. The reading indicates the condition of the starter and other circuit components, which is why it is a standard first step on a slow-crank or no-crank complaint.
The test is useful when:
- The engine cranks slowly, but the battery seems fine.
- The starter clicks, groans or cranks only sometimes.
- You have already replaced a battery or starter and the problem came back.
- You want a baseline before condemning a part.
It will not help much when the starter does nothing at all and the dash lights stay bright. That pattern is usually a relay, solenoid, neutral safety switch or wiring issue. Our guide to telling starter relay symptoms from battery and ground faults walks through those checks.
Tools and prep before you test
You need three things: an inductive DC clamp-on ammeter (or a battery starter tester with an amp clamp), a digital voltmeter and your vehicle’s service information. A study guide for starting-system testing advises starting with the battery at or near full charge and with clean, tight terminals, because a low battery or poor connection drags the reading down and misleads you.
Before cranking, check these:
- Battery state of charge. Charge it, then load test it if it is old. A weak battery can make a healthy starter look bad.
- Terminals and clamps. Remove corrosion, tighten, and look for green crust under the insulation.
- Engine oil and condition. Thick oil in winter raises draw legitimately.
- Spec lookup. Find the amp-draw limit for your exact engine in the service manual or a paid information service.
How to run the test safely
- Disable the engine from starting. Pull the fuel pump fuse or relay, or disable the ignition, so the engine cranks without firing. The maintenance manual procedure calls for disabling ignition or fuel for exactly this reason. On a diesel, use the shutoff the manual specifies.
- Keep clear of moving parts. Belts, fans and pulleys turn when the engine cranks. Route meter leads away from them, and keep loose clothing and tools out of the way.
- Clamp the ammeter. Place the inductive clamp around the main battery cable running to the starter (the positive cable, or the negative if that is easier to reach), with the arrow pointing the way the manual says. Zero the meter first if it requires it.
- Connect the voltmeter. Put it across the battery posts, positive lead on the positive post and negative on the negative. This shows cranking voltage.
- Crank and record. Turn the key and crank for a few seconds. Write down the peak amperage and the lowest steady battery voltage.
- Rest the starter. Do not crank for more than 30 seconds, and let the starter cool for a few minutes before trying again. Starters overheat quickly, and a hot starter draws differently.
If you see smoke, smell burning insulation or hear grinding, stop. Do not keep cranking to “get a reading.”
How many amps should a starter draw?
The correct answer is the figure in your vehicle’s service information. A common rule from the manufacturer repair data is that the draw should stay at or below the maximum limit given for that engine. When you cannot find a specific number, use broad maximums as a rough screen. Automotive textbook guidelines list these:
| Engine size | Typical maximum draw |
|---|---|
| 4-cylinder | 150 to 185 A |
| 6-cylinder | 160 to 200 A |
| 8-cylinder | 185 to 250 A |
Treat these as ceilings, not targets. A healthy starter on a warm engine often draws well under them. Cold engines, high compression, diesels and large truck starters can legitimately sit higher, which is another reason to find the real spec.
Voltage matters just as much as amps. Cranking voltage should generally stay above 9.6 volts during the test. If it falls below that on a charged battery, the battery is weak or the circuit is losing too much voltage somewhere.

Reading the results
Numbers only mean something when you pair them with how the engine cranks. A starter current draw lesson makes this point: high draw generally indicates mechanical drag or internal electrical shorts, while low draw with slow cranking suggests high circuit resistance or a weak battery.
| What you see | Cranking speed | Likely cause |
|---|---|---|
| Amps above spec | Slow | Worn bushings or bearings, internal short, dragging armature, or engine mechanical drag |
| Amps within spec | Normal | Starting circuit is fine; look at fuel, spark or another system |
| Amps below spec | Slow | Resistance in cables, connections or grounds, or a weak battery |
| Amps very low, voltage normal | Click only or nothing | Open circuit, bad solenoid contacts or a relay or switch fault |
| Amps high, voltage collapses | Slow or stalls | Weak battery, or a seized starter or engine |
High amps
A starter working too hard pulls too much current. The cause is either inside the starter (shorted windings, worn bushings, a rubbing armature) or outside it (a tight engine, wrong oil, a hydraulic lock, misadjusted timing). If the engine itself is hard to turn, the starter will pull more amps simply because it has more work to do. That is why a high reading is not an automatic verdict against the starter. Try turning the engine by hand at the crankshaft bolt, with the spark plugs out, if you suspect it is tight.
Low amps
Low draw with slow cranking is the classic sign of resistance in the path. The starter cannot get enough current through a corroded cable, loose terminal or poor ground. A weak battery produces the same symptom. This is where voltage drop testing comes in.
Normal amps, still no start
If the draw is in spec and the engine spins at a healthy speed, the starter is doing its job. ALLDATA’s no-start guide says normal cranking speed shifts attention toward fuel or spark, while cranking that is too fast can point to timing or compression problems. Slow cranking, by contrast, may come from a low battery, faulty cables, a faulty starter or an engine mechanical problem.
Follow up with voltage drop tests
Current draw tells you that something is off. Voltage drop tells you where. The idea is simple: electrical resistance in a cable, terminal or ground wastes voltage as heat. You measure the loss between two points while the starter cranks, one segment at a time. The lesson on current draw testing recommends testing individual circuit segments after an abnormal draw reading to pinpoint the cable, connection or ground at fault.
A practical sequence:
- Battery positive post to starter battery terminal. Meter leads on each end of the positive cable, crank, read the voltage.
- Battery negative post to engine block or starter housing. This checks the ground path.
- Battery post to cable clamp. Probe the post itself and the clamp. A reading here means a dirty or loose clamp.
- Starter case to battery negative. This catches a bad engine-to-body ground strap.
Small readings are normal; large ones are not. Heavy-duty starter makers publish limits for their own products, and they are tight, with total cable loss kept to a fraction of a volt even at very high loads. For passenger vehicles, use the figure in the manual and treat anything that looks high as a connection to clean or a cable to replace. The same technique helps on the charging side. Our alternator voltage drop guide and the walkthrough on a new alternator that still won’t charge use the same meter and the same logic.
On some large trucks, a pure current draw test is less practical than a symptom-based routine: click and no crank, slow crank, or no click, each followed by voltage drop tests. If you maintain heavy-duty equipment, follow the engine maker’s flow.
Starter load test vs. draw test
The two terms get mixed up. A starter load test, in the sense most textbooks use, determines the current draw of the starting system, which is the same measurement you just made on the vehicle. The on-vehicle test judges the starter in the real circuit with the real battery and engine.
A bench test is different. To know accurately whether a starter’s speed and amp load meet specification, an off-vehicle no-load test on a test stand is the proper tool. Many parts counters and repair shops will run one for you. Use it when the on-car numbers are borderline, or when you want to confirm a removed starter before you return or replace it.

Starter, battery, cables or engine: sorting it out
A sensible order saves money:
- Battery first. Charge and load test it. A battery that tests marginal explains most slow-crank complaints.
- Cables and grounds. Inspect, clean and run voltage drop tests.
- Control circuit. Check the relay, ignition switch and neutral safety switch for click-only or no-click symptoms.
- Starter. If the battery and cable tests pass and the engine still cranks slowly with abnormal draw, the starter is the likely culprit.
- Engine. If the starter spins freely off the car but the engine is hard to turn, look at mechanical drag.
Skipping steps is how parts get replaced for nothing. Corroded grounds and weak cables are well known for generating comebacks when they are misdiagnosed as starter failures. A $10 relay can imitate a dead starter, as we show in our piece on a starter stuck engaged, and a hot engine can make a good starter act up, which we cover in starter heat soak tests. If you are weighing a solenoid against the whole starter, read our solenoid versus starter guide first.
Common mistakes that skew the numbers
- Testing on a half-charged battery. Voltage sags, amps look odd, and you chase the wrong part.
- Letting the engine start. A running engine changes everything. Disable fuel or ignition.
- Clamping the wrong cable or wrong direction. Check the arrow on the clamp and the meter’s polarity setting.
- Cranking too long. Heat raises resistance and ruins the second reading. Rest the starter between attempts.
- Ignoring temperature. A cold engine in January and a warm one in July produce different draws. Note the conditions.
- Using a single number as the verdict. Pair amps, voltage and cranking speed every time.
Write your readings down with the date, the engine temperature and the battery voltage before you crank. If you test again after a repair, you have a baseline to compare.
Our perspective on diagnosing before replacing
We see the same pattern again and again: a driver replaces a starter, the problem returns, and the real culprit was a corroded ground or a tired battery. A draw test, followed by a couple of voltage drop checks, takes under an hour and tells you which side of the circuit to trust.
When the tests do point at the starter, the part you choose matters. We remanufacture starters in the USA with all-new wear components, test each unit against OEM specifications, and back them with a warranty. Our approach is built for exactly the buyer who has done the diagnosis and wants a reliable replacement at a fair price, not a gamble on an untested part.
Our advice is simple: confirm the cause, then fix it once. That is better for your wallet and for the vehicle.
Ismael
When the tests point to the starter
If the battery passes, the cable and ground voltage drops are within spec, and the starter still draws abnormal amps or cranks slowly, replacement is the right call. Check the motor design for your vehicle too, since starter motor types differ in how they engage and what they need to match.
We rebuild starters and alternators for cars, trucks, vans, SUVs and specialty vehicles, each with new components, tested to OEM specifications and shipped same day for urgent needs. Browse our rebuilt starters by vehicle, or if you drive a Ford, start with a specific listing such as the 3273 starter for the 2005 to 2010 Mustang, 1997 to 2010 Explorer and 1998 to 2011 Ranger.

If your testing also showed low charging voltage, our rebuilt alternators cover that side of the system. Give your year, make, model and engine, and check fitment before ordering.
FAQ
How many amps should a starter draw?
Use the maximum in your vehicle’s service information. As a rough guideline when you cannot find it, maximums run about 150 to 185 A on 4-cylinder engines, 160 to 200 A on 6-cylinder engines and 185 to 250 A on 8-cylinder engines. Cold weather, diesels and heavy-duty starters can run higher.
What does low amp draw on a starter mean?
Low amps with slow cranking usually mean the starter is not getting enough current. Suspect a weak battery, corroded or loose cables and terminals, or a poor ground. Run voltage drop tests on each segment to find the resistance before replacing the starter.
What does high amp draw on a starter mean?
High draw points to extra work or an internal fault. The cause may be worn bushings, a shorted winding or a dragging armature in the starter, or an engine that is hard to turn. Check cranking speed and rule out engine drag before you condemn the starter.
Can I do a starter draw test without a clamp meter?
Not accurately. An inductive DC clamp-on ammeter is the standard tool, and many parts stores lend or rent one. Without it, you can still measure cranking voltage and run voltage drop tests with a basic digital voltmeter, which already catches many bad cables and grounds.
How long can I crank during the test?
Keep each attempt short, and never exceed 30 seconds. Let the starter cool for a few minutes before cranking again, since heat changes the readings and can damage the starter.
Sources
- Starting Circuit Maintenance, Construction Equipment manual
- Starter Voltage Drop/Current Draw Tests, James Halderman
- Electrical Starting and Charging Guide, Toro
- Perform starter current draw test, MasterTechPrep
- A quick-start guide to no-start diagnostics, ALLDATA
- Modern Automotive Technology, starting system diagnosis chapter
- Diagnose Starter and Alternator Problems, AA1Car