Cart
0
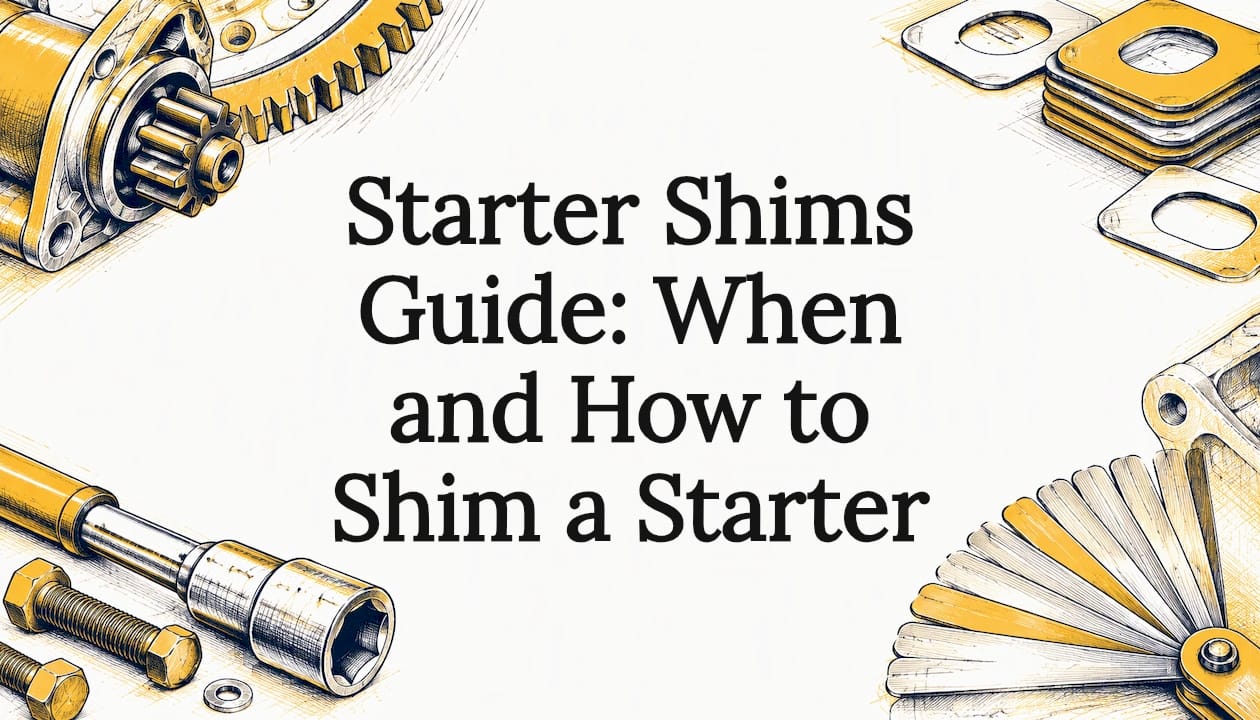
A starter shim is a thin metal spacer that sits between the starter and the engine block. It moves the pinion gear closer to or farther from the flywheel or flexplate ring gear. You shim a starter when the gear engagement is wrong: a whine means the gap is too big, and a clunk or grind means it is too tight. The fix is to measure the gap first, then add or remove shims until it is right.
This guide shows you how to read the symptoms, check the clearance with a tool you already own, pick the right shim, and confirm the job is done. It also covers the problems shims will not fix, so you do not chase the wrong part.
TL;DR
- Shims set the distance between the starter pinion and the ring gear. Too far gives a whine or a skip. Too close gives a grind, a clunk or a bind.
- Measure first. Published rules of thumb put the gap at roughly 0.020 to 0.035 inch, about the thickness of a paper clip.
- Most aftermarket shims are 0.015 inch. Use as few as you can, and treat a stack of four or more as a sign something else is off.
- Never shim to cover a worn ring gear, weak battery, bad cables or wrong bolts. Rule those out first.
- Re-check the gap after installing, and turn the engine over a few times to catch a bent ring gear.
Table of Contents
- What a starter shim actually does
- Signs the starter gap is wrong
- Check the clearance before you buy shims
- Choosing the right shim
- How to shim a starter, step by step
- Confirm the adjustment worked
- When shims will not fix it
- Our perspective
- Get the right starter for the job
- FAQ
- Sources
What a starter shim actually does
When you turn the key, the starter pushes its pinion gear forward to mesh with the ring gear on the flywheel (manual transmission) or flexplate (automatic). The teeth need a small amount of play. With none, they bind. With too much, they only graze each other.
A shim changes where the starter sits against the block, which changes that tooth-to-tooth distance. Adding shims moves the starter away from the ring gear and adds clearance. Removing them moves the starter closer. That is all a shim does, and it is why the job is about measurement, not guessing.
Shimming is most common on small-block Chevy and other GM-style starters, and on engines that have had a flywheel, flexplate or starter swapped. A different flywheel or a starter with a different nose depth can change the gap even on an engine that ran fine before.
Signs the starter gap is wrong
The sound tells you which direction to go. A Chevy Hardcore starter fitment article by Randy Bolig lays out the pattern:
| What you hear or feel | What it usually means | Typical adjustment |
|---|---|---|
| High-pitched whine as the engine turns over | Starter is too far from the ring gear | Add shims for the right clearance, or check the starter is fully seated |
| Starter skips as it turns the engine | Starter is too far from the flexplate or flywheel | Check clearance, adjust to spec |
| Growl, and the engine does not turn over easily | Gap is too tight | Shim the starter to open the gap |
| Loud clunk or bang during cranking | Starter is too close to the ring gear | Shim outward |
| Starts once, then will not start again | Pinion may bind and fail to retract | Likely needs more clearance |
Grinding after the engine has fired is a different story. That often points to a starter that did not retract or a worn ring gear, and it is covered in our guide to a starter grinding noise.
Leaving the problem alone costs money. Poor engagement can chew up pinion and ring gear teeth, and a pinion that is too close can load the starter nose. Fix the geometry early and you protect both the starter and the flexplate.

Check the clearance before you buy shims
You do not need special gauges. The common field method uses a paper clip.
- Chevy Hardcore gives a rule of thumb of 0.030 inch between the gears when the starter is engaged, and calls a paper clip a great gauge for it.
- Hot Rod’s starter installation guide puts the spacing at 0.020 to 0.035 inch, about a paper clip, and says that if the clearance is too tight you add a shim or shims between the block and the starter mounting block.
- PRW Power’s flywheel installation instructions call for tooth-to-tooth clearance of 0.035 to 0.065 inch with their flywheels.
These numbers are not identical, because they come from different makers and different setups. That is normal. If the starter or flywheel maker gives a spec for your parts, follow that first. If not, the paper clip range is a sound starting point, and the final test is how the starter sounds and turns the engine.
How to take the measurement
Install the starter with no shims first. Then engage the pinion by hand or by pushing the solenoid plunger, so the gear sits fully forward. Slide a bent paper clip, or a small drill bit, between the tip of a pinion tooth and the ring gear tooth. It should slide through snugly without forcing. Turn the engine a little and check at a few spots around the ring gear, since a bent or warped ring gear shows up as a gap that changes.

Choosing the right shim
Starter shims come in a few styles, and the right one depends on the starter and the problem.
- Flat shims move the starter straight out from the block. They are the standard choice for a general clearance fix.
- Half shims sit under only the outer bolt. They tilt the starter slightly to change how the pinion sits against the ring gear.
- Wedge or angled shims correct a misaligned gear angle.
- Circular or ring-style shims are offered by some makers to push the starter out a set distance. Super Chevy’s starter tuning story notes that one such shim moves a starter away about 0.075 inch.
How thick is a shim?
Most performance starters ship with several flat shims, each about 0.015 inch thick, according to the same Super Chevy piece. PRW’s instructions add that most aftermarket starter shims are 0.015 inch and that each one increases tooth-to-tooth clearance by about 0.0075 inch. That detail matters: one shim under both bolts adds less than a full shim’s thickness at the gear, because the starter pivots on its mounting.
So you will often need more than one, but do not stack blindly. PRW also warns that if you need more than four shims, there is a good chance the mounting surface has been machined down or is warped. A tall stack is a clue to look at the mounting face, not a number to keep adding to.
Shim both bolts or just one?
Shimming both bolts moves the whole starter outward. Shimming only the outer bolt adds clearance at the pinion tip without changing the inner end as much. Many builders use half shims on the outer bolt for fine adjustment. Whichever you use, keep the shims flat and fully supported under the bolt, and avoid bending the starter body by shimming one side to close a large gap. If a big difference between the two sides seems necessary, the block face or the bellhousing alignment deserves a look.
How to shim a starter, step by step
Tools: jack and jack stands, wrenches and a ratchet with extension and sockets for your starter bolts, a paper clip or small drill bit, a starter shim set, and a torque wrench if the vehicle maker lists a bolt torque.
- Make the vehicle safe. If you have to get under it, lift it with a jack and support it on jack stands, never the jack alone. Disconnect the battery so the starter cannot turn while you work. Our starter draw test guide also covers safe handling around the battery.
- Note what is installed. If the vehicle already has shims, record how many and where. Service manual notes for GM trucks say previously installed shims go back in their original location when the starter is reinstalled.
- Remove the starter. Loosen the mounting bolts and pull the starter, keeping any shims together. Label the wires before you take them off.
- Test-fit with no shims. Install the starter dry, with the bolts that belong with it. Using the wrong bolts is a leading cause of noisy starters, per Chevy Hardcore, and if you are not using original equipment bolts a starter can work loose and misalign.
- Measure the gap. Engage the pinion and check the clearance with the paper clip or drill bit, as above.
- Add shims in small steps. Start with one 0.015-inch shim on each bolt, or a half shim on the outer bolt only. Reinstall and measure again. Repeat until the gap is in range.
- Tighten in the right order. Chevy Hardcore recommends snugging the first bolt loosely so the starter is supported, installing and tightening the second bolt, then going back to fully tighten the first.
- Reconnect and test. Reattach the wiring and battery, then start the engine several times, hot and cold if you can.
If you cannot check the clearance on your vehicle, a fallback from owner-community notes is to reinstall the same number of shims you removed. That restores the earlier setup, but it will not fix a gap that was wrong to begin with.
Confirm the adjustment worked
A quiet, quick start is the best sign, but verify with measurement too.
- Check that the gap sits within roughly 0.020 to 0.035 inch, or the spec for your parts.
- Hot Rod advises rotating the engine three or four times and measuring again, which reveals a warped or bent ring gear. Also make sure the pinion sits at least 1/16 inch from the ring gear when disengaged.
- Listen on a cold start and on a hot restart. Heat can expose a tight fit that seemed fine cold.
If the pinion gear wears quickly, that is a sign of too much clearance. Powermaster’s instructions say excessive clearance causes premature pinion tooth wear and the fix is to remove shims. So the process runs both ways: shim out for a tight fit, remove shims for a loose one.
When shims will not fix it
Shimming only changes geometry. Plenty of starting complaints have other causes, and it pays to rule them out before you take the starter off.
- Weak battery or poor connections. A fully charged 12-volt battery should read about 12.6 volts at rest, according to Chevy Guide. Powermaster notes that slow cranking is most often caused by low input voltage from undersized cables, a high-resistance or defective battery, or poor connectors. Truck Parts and Service also lists corroded or worn cables, overcranking heat and moisture or oil intrusion among the causes of starter symptoms.
- Worn or broken ring gear teeth. Chevy Guide states that when flywheel or flexplate teeth are worn or broken, replacing the starter alone will not solve it.
- Heat soak. On some engines with tight exhaust routing, a hot starter may not extend its gear properly. Our hot start problem checklist walks through it.
- Clicking with no crank. That is usually electrical, not geometric. See starter clicks but car won’t start.
- A new flywheel with flaws. Tuff Stuff Performance notes that defective new aftermarket flywheels are a known industry issue, so a new flywheel is not automatically a perfect one.
For a broader approach, work through our no crank no start diagnosis and compare the symptoms with the warning signs a starter is failing. If voltage drop is suspected, the same logic applies to charging circuits in alternator voltage drop.
Our perspective
We see the same pattern again and again: someone swaps a starter, hears a whine or a grind, and assumes the part is the problem. Often the part is fine and the mounting is the story. A starter only works as well as the fit between its pinion and the ring gear.
That is why we treat fit as part of quality. Our starters are rebuilt in the USA with all-new components and tested to meet or exceed OEM specifications, so the starter you install starts from a known, consistent baseline. From there, a quick clearance check and, if needed, a shim or two is how you get a clean, quiet install.
Our advice is simple. Match the starter to your exact vehicle, use the correct bolts, measure the gap, and change one thing at a time. If the clearance and the electrical side are right and the starter still misbehaves, a properly rebuilt unit backed by a warranty is a straightforward way to get back on the road.
Ismael
Get the right starter for the job
If your starter is worn out, the cleanest way to avoid fit headaches is to start with a unit built for your vehicle. We offer remanufactured starters for cars, trucks, vans and SUVs, each rebuilt with new components, tested to OEM specifications, backed by warranty and shipped same day. Browse all rebuilt starters, or go straight to a popular fit such as the starter for 05-10 Mustang, 97-10 Explorer and 98-11 Ranger.

Working on a Toyota instead? The starter for 02-17 Camry, 04-19 Highlander and 06-18 RAV4 is listed too. Check the fitment on each product page against your year, make and engine before you order.
FAQ
How many shims can I use on a starter?
Use the fewest that bring the gap into range. A Delco Remy bulletin cited by one repair site advises no more than three shims per side, and PRW Power says that needing more than four suggests a machined or warped mounting surface. If you are stacking that many, inspect the block face and bellhousing.
Do I shim a starter if it whines or if it grinds?
A whine usually means the starter sits too far from the ring gear, so you add clearance with shims. A grind, growl or clunk usually means the gap is too tight, so you also move the starter outward with shims. If the starter is already shimmed and wears the pinion quickly, remove shims instead. Always measure first.
Can I shim just one side of the starter?
Yes, a half shim under the outer bolt is a common fine adjustment. Owners report it works for small corrections. Keep the shim supported and avoid forcing a starter to sit crooked to close a large gap, which can stress the housing or mounting.
Is shimming needed on every starter swap?
No. Many installs go in with the original shims or none, and run quietly. You shim when the sound or the measured gap says the fit is off, which is more common with changed flywheels, flexplates or starters of a different nose depth.
Could the problem be something other than shims?
Often. A low battery, corroded cables, wrong bolts, a worn ring gear or a heat-soaked starter can produce the same symptoms. Check battery voltage and connections first, then clearance.
Sources
- Chevy Starter Fitment Is Not A One Size Fits All Situation, Chevy Hardcore
- How to Install a Starter, Hot Rod
- Pro and Elite Series Flywheel Installation Instructions, PRW Power
- Chevy Starter Tuning, Super Chevy Magazine
- Why your truck won’t crank, Trucks, Parts, Service
- How to Fix Chevy Starter Grinding Noise, Chevy Guide